Waiting List
The Waiting List feature in QuillBooking Pro allows customers to join a queue when all spots for an event or service are fully booked. Instead of turning visitors away, you keep them engaged and can fill cancellations automatically or with a single click.
This feature is available for both Events and Services and can be configured independently for each.
Enabling the Waiting List
To enable the waiting list for an event or service:
- Go to Quill Booking → Calendars and select your calendar.
- Click on the event or service you want to configure.
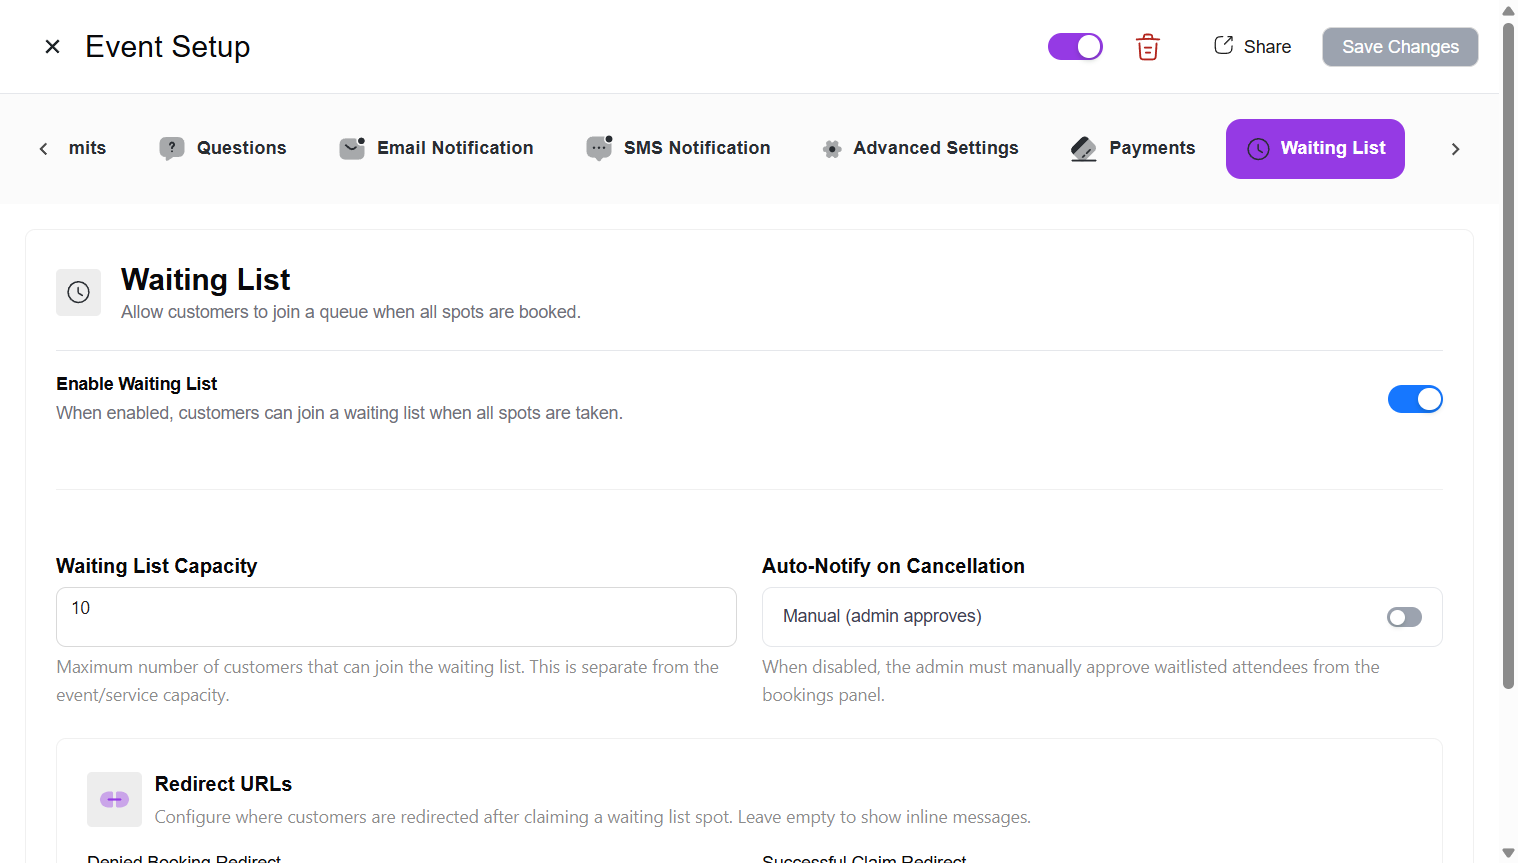
- Navigate to the Waiting List tab.
- Toggle Enable Waiting List to on.
- Click Save Changes.
Waiting List Settings
Once enabled, you can configure the following options:
Waiting List Capacity
Set the maximum number of customers that can join the waiting list per time slot. This is separate from the event or service’s regular capacity. For example, if your event allows 5 attendees and the waiting list capacity is 3, up to 3 additional people can queue after the 5 spots are filled.
Auto-Notify on Cancellation
This setting controls what happens when an active booking is cancelled and a spot becomes available:
- Enabled (Auto-Notify) — When a spot opens up, all customers on the waiting list are automatically notified via email with a claim link. The first customer to click the link claims the spot (first-come, first-served). This is the default for services.
- Disabled (Manual / Admin Approves) — No automatic emails are sent. The admin manually reviews the waiting list and promotes a specific customer from the Bookings → Waiting List tab. This is the default for events.
Limit Additional People
For group events and services with a max capacity greater than 1, you can limit how many additional people a single waiting list entry can bring. This setting is automatically hidden for one-to-one events where only 1 person can book.
Redirect URLs
Configure where customers are redirected after claiming a waiting list spot:
- Denied Booking Redirect — Where to send customers when the spot is no longer available (someone else claimed it first).
- Successful Claim Redirect — Where to send customers after they successfully claim a spot.
Leave these empty to show inline result pages instead of redirecting (see What Customers See When Claiming below).
How Customers Join the Waiting List
When all regular spots are booked for a time slot, the booking page automatically switches to waiting list mode:
- The customer selects a date and time slot on the public booking page.
- If the slot is fully booked but the waiting list has room, a Waiting List badge appears next to the time slot.
- The customer fills in their details and clicks Join Waiting List (instead of the regular “Book” button).
- They receive a confirmation email that they’ve been added to the waiting list, along with their position in the queue.
If both the regular spots and the waiting list are full for a particular time slot, that slot is hidden from the booking page entirely — customers won’t see it.
Note: When a customer joins the waiting list, the admin/organizer does not receive a notification email. Only the customer receives the waiting list confirmation. You can see all waiting list entries at any time from the Bookings → Waiting List view in your dashboard.
Managing Waiting List Bookings
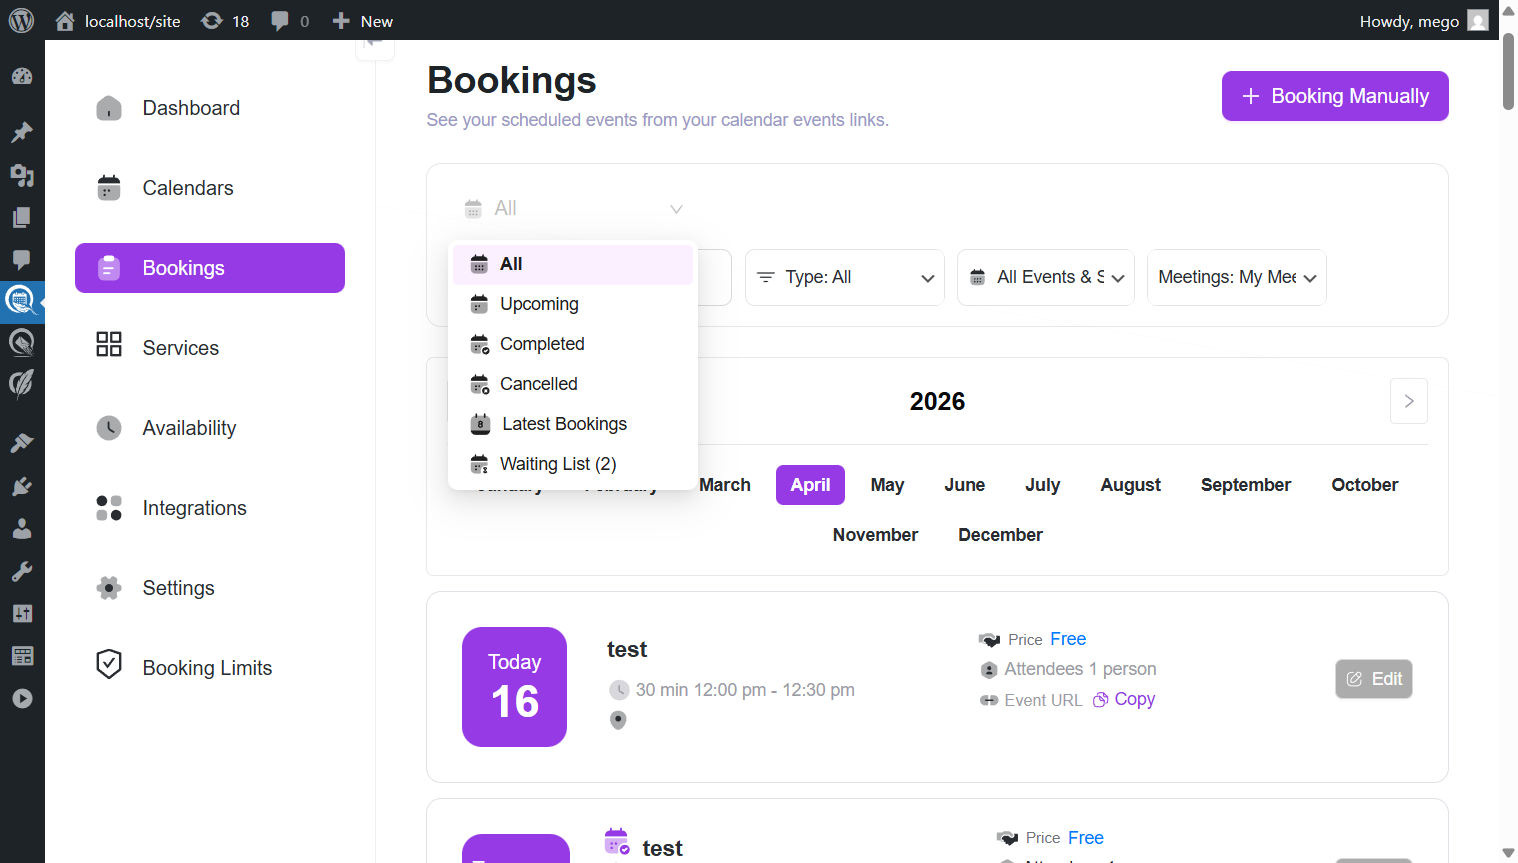
All waiting list entries appear in the Bookings section of your admin dashboard. Use the dropdown at the top of the page and select Waiting List to view only waiting list bookings.
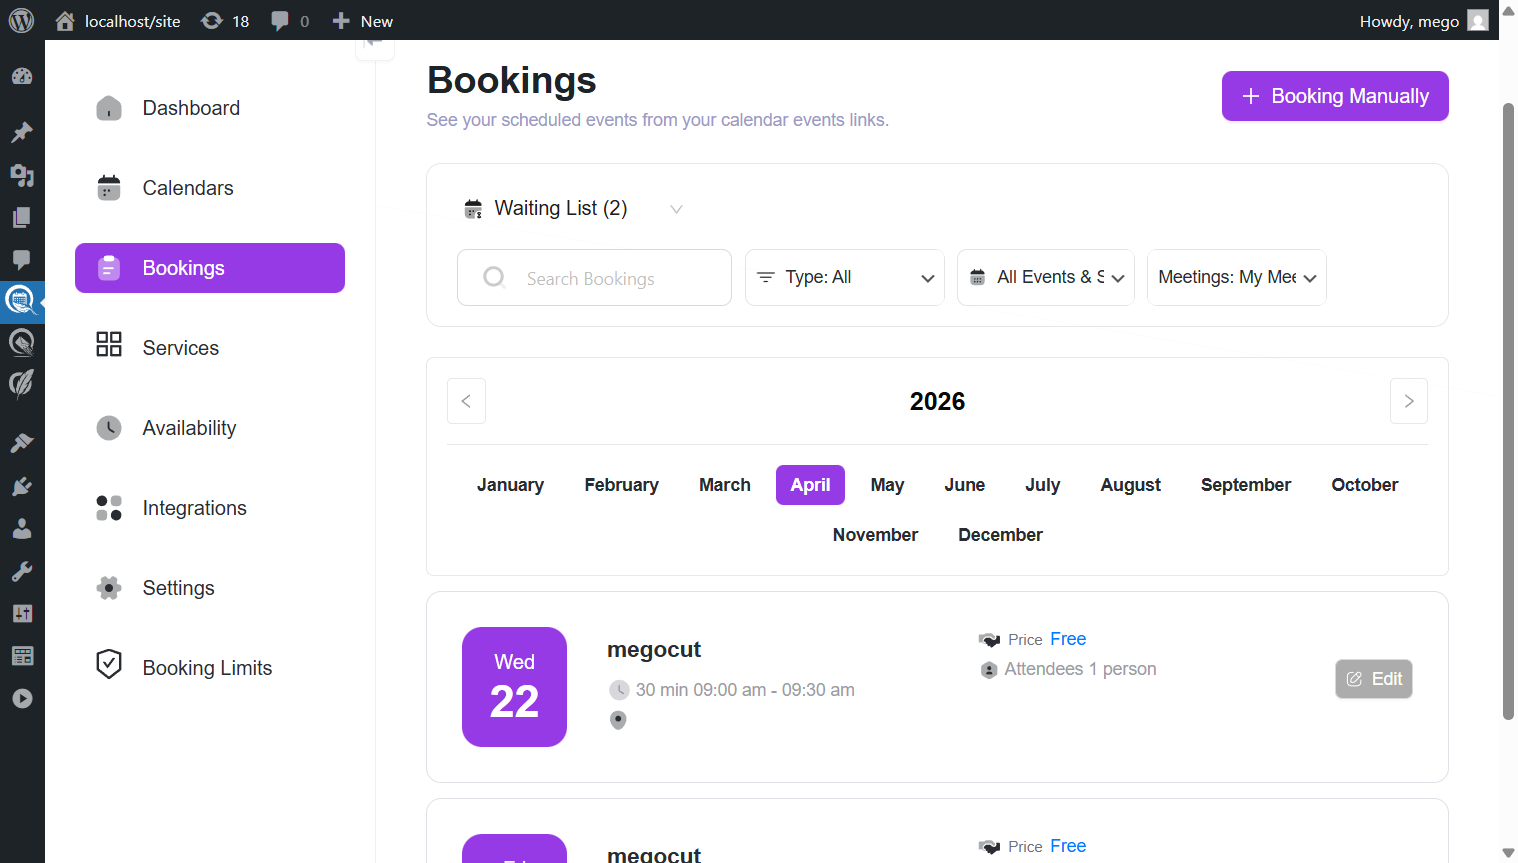
The waiting list is displayed in chronological order — customers who joined first appear at the top. This helps you decide who to promote first when manually managing the list.
Approving (Promoting) a Waiting List Booking
When a spot becomes available, you can promote a waiting customer to a confirmed booking:
- Go to Quill Booking → Bookings.
- Select Waiting List from the dropdown filter.
- Find the booking you want to promote and click the Edit button.
- Click Approve (Promote) from the action menu.
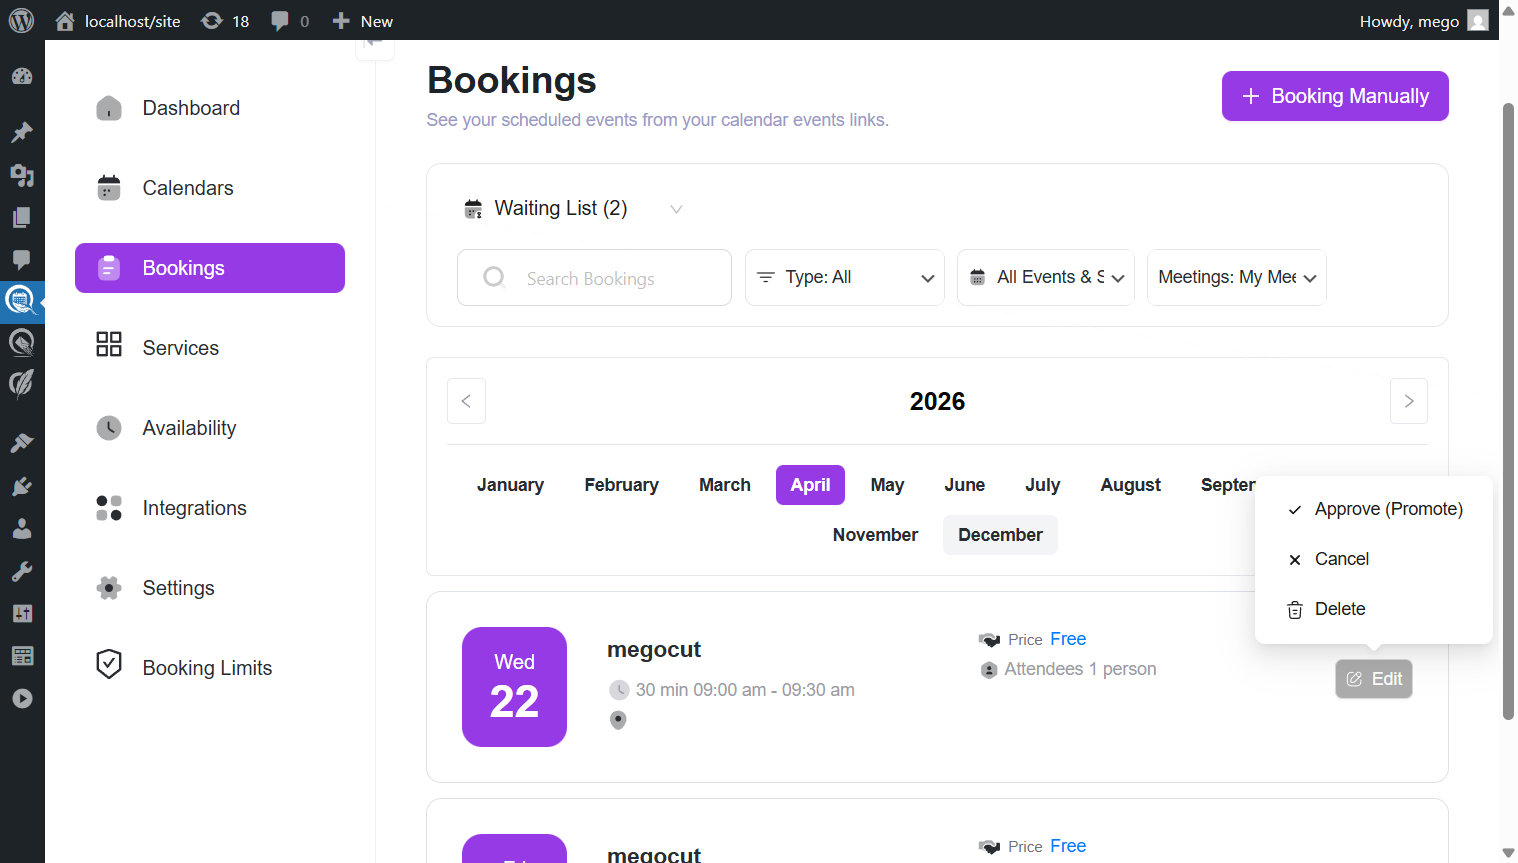
The booking status changes from waiting to scheduled, the slot is reserved, and a standard booking confirmation email is sent to the customer (the same email that any new booking generates). If the slot has already been taken (e.g., another customer was promoted or booked the slot), you’ll see an error message indicating the slot is no longer available.
This works for both event and service waiting list bookings. Admins always have the ability to manually promote any waiting customer regardless of the Auto-Notify setting.
Cancelling or Deleting Waiting List Bookings
From the same Edit action menu, you can also:
- Cancel — Removes the customer from the waiting list (you’ll be asked to provide a reason).
- Delete — Permanently removes the waiting list entry.
Note: Customers cannot cancel their own waiting list position — there is no customer-facing link to leave the waiting list. Only an admin can cancel or remove a waiting list entry from the dashboard.
Automatic Claim Flow
When Auto-Notify on Cancellation is enabled, the following happens automatically when an active booking is cancelled:
- The system detects that a spot has opened up.
- All customers on the waiting list for that time slot receive an email with a personalized claim link.
- The first customer to click the link claims the spot — their booking is promoted from waiting to scheduled.
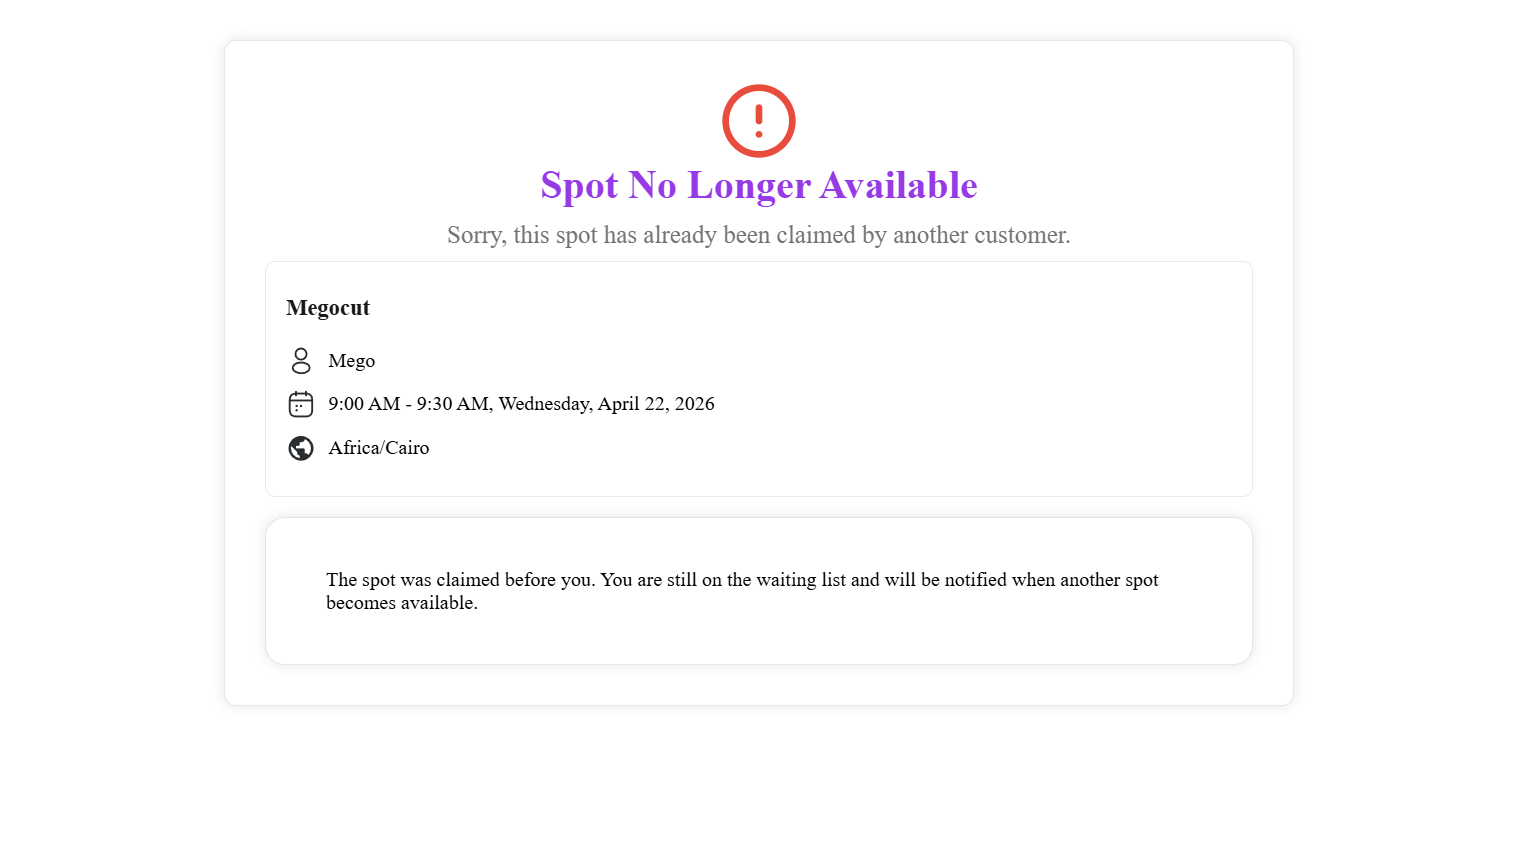
- If a customer clicks the link after someone else has already claimed the spot, they see a “Spot No Longer Available” message.
This first-come, first-served approach ensures spots are filled quickly without requiring admin intervention. The claim process respects the original event type’s capacity rules — for example, one-to-one events check host availability, group events check the group size limit, and services check the service capacity.
What Customers See When Claiming
When a customer clicks the claim link from their email, one of two things happens depending on your Redirect URL settings:
- If redirect URLs are configured: The customer is redirected to the success or denied URL immediately.
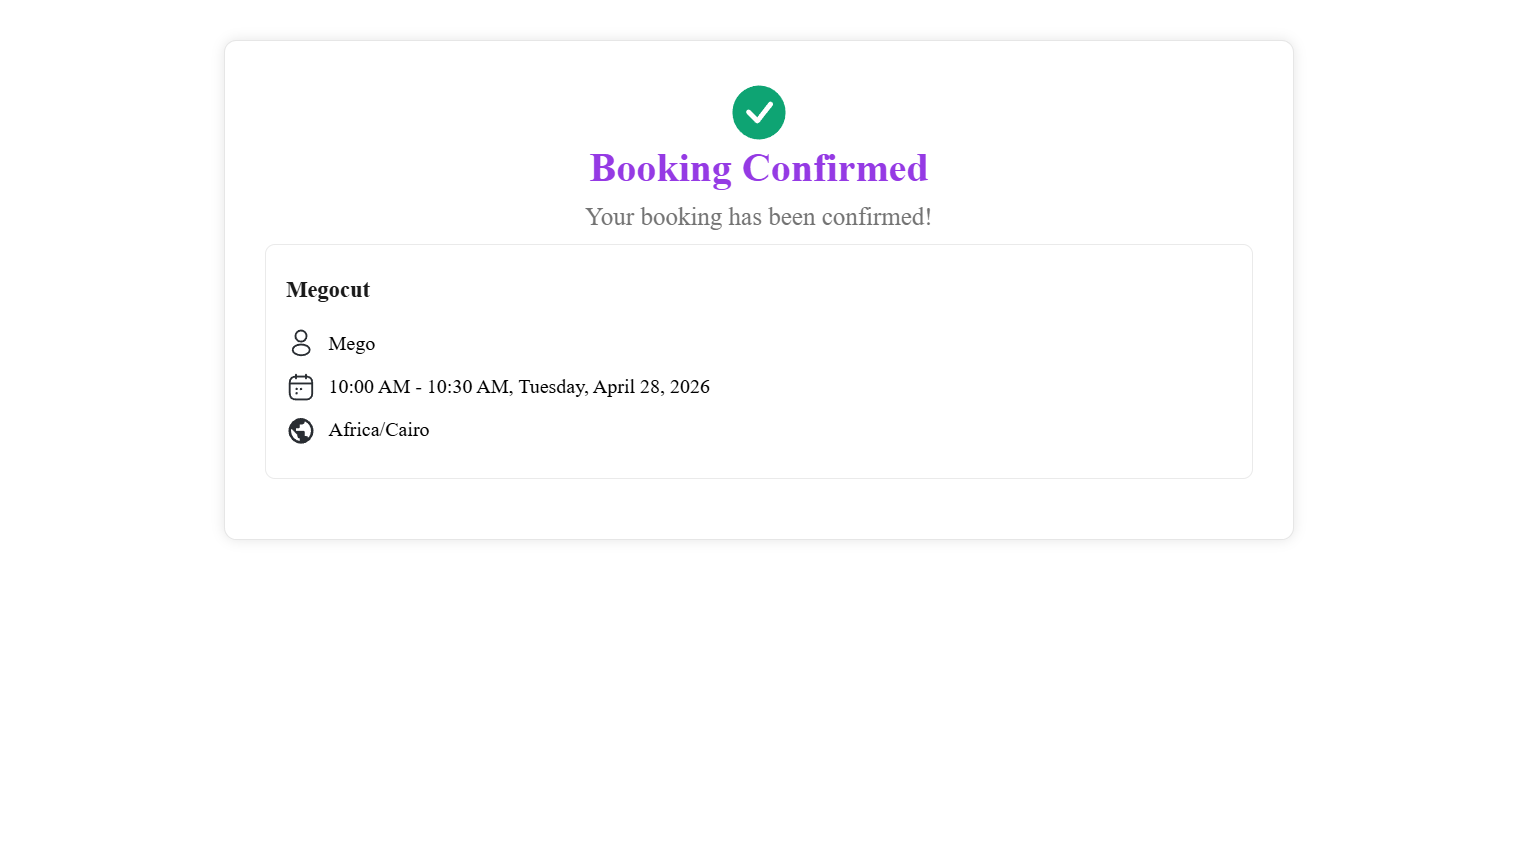
- If no redirect URLs are set (default): The customer sees an inline result page showing the booking details:
- Success: A confirmation page titled “Booking Confirmed” with the message “Your booking has been confirmed!” along with the event/service name, host, date/time, and timezone.
- Already claimed: A page titled “Spot No Longer Available” with the message “Sorry, this spot has already been claimed by another customer.” The page also reassures them: “You are still on the waiting list and will be notified when another spot becomes available.”
After a successful claim, a standard booking confirmation email is automatically sent to the customer.
Email Notifications
The waiting list feature includes two email notification templates that can be customized from the Email Notification tab of your event or service settings:
- Waiting List Confirmation — Sent to the customer when they successfully join the waiting list. Includes their position in the queue.
- Waiting List Availability — Sent when a spot becomes available (only when Auto-Notify is enabled). Includes a claim link for the customer.
Both templates support merge tags such as {{booking:waiting_list_position}} for the queue position and {{booking:waiting_list_claim_url}} for the claim link.
Additionally, when a waiting list booking is promoted (either by admin or via the claim flow), the customer receives a standard booking confirmation email — the same one sent for any new booking.
Key Points
- The waiting list is a Pro feature — the Waiting List tab appears only when QuillBooking Pro is active.
- Each event and service has its own independent waiting list settings.
- Waiting list bookings do not count toward event/service capacity or appear in regular booking views (All, Upcoming, Latest Bookings).
- The claim process is atomic — only one customer can claim a spot at a time, preventing double-bookings.
- Admins can always manually promote a waiting customer, regardless of whether Auto-Notify is enabled.
- The admin is not notified when a customer joins the waiting list — check the Waiting List view in the Bookings page to see entries.
- Customers cannot cancel their own waiting list position — only admins can remove waiting list entries.
- The waiting list is ordered by join time — customers who joined first appear first in the admin view.