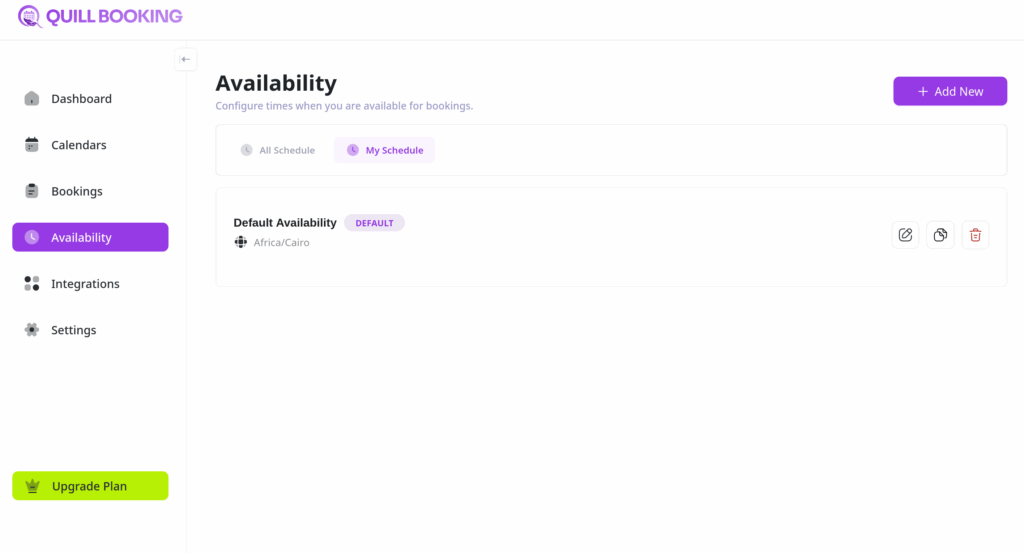
Availability Management
QuillBooking features a robust Availability Management system designed to simplify scheduling and eliminate overbooking conflicts.
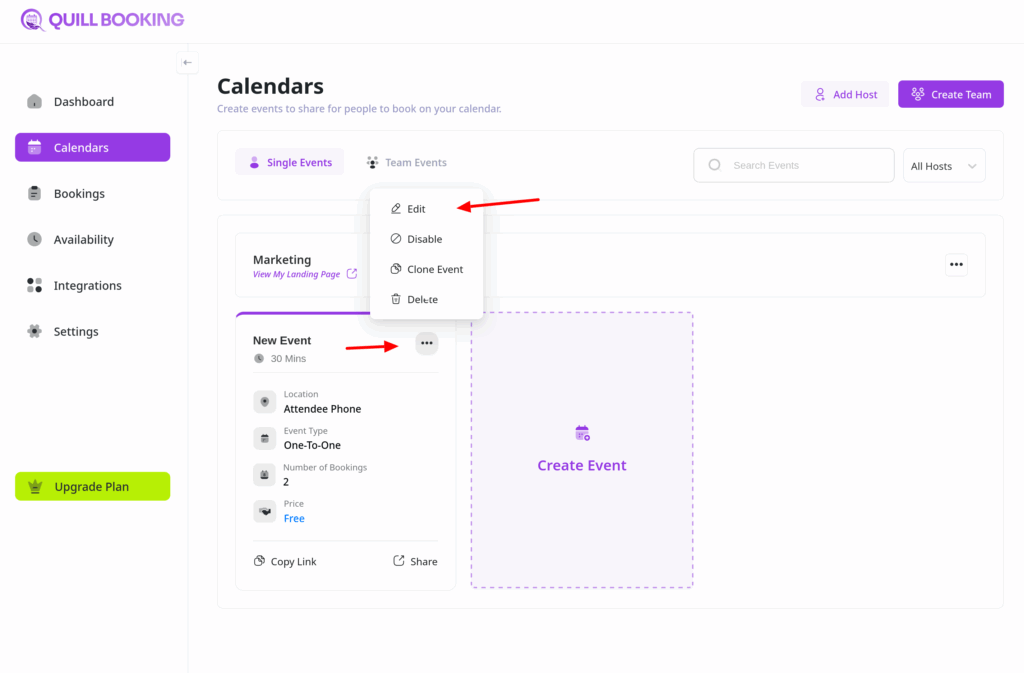
Events Management
With QuillBooking, hosts can create multiple events and assign availability schedules to each one. This removes the hassle of configuring separate schedules for every event, saving time and effort.
Time Slot Flexibility
Events can be customized with different durations—such as 15, 30, or 60 minutes—or even custom lengths. QuillBooking automatically calculates and displays available time slots based on the host’s configured availability.
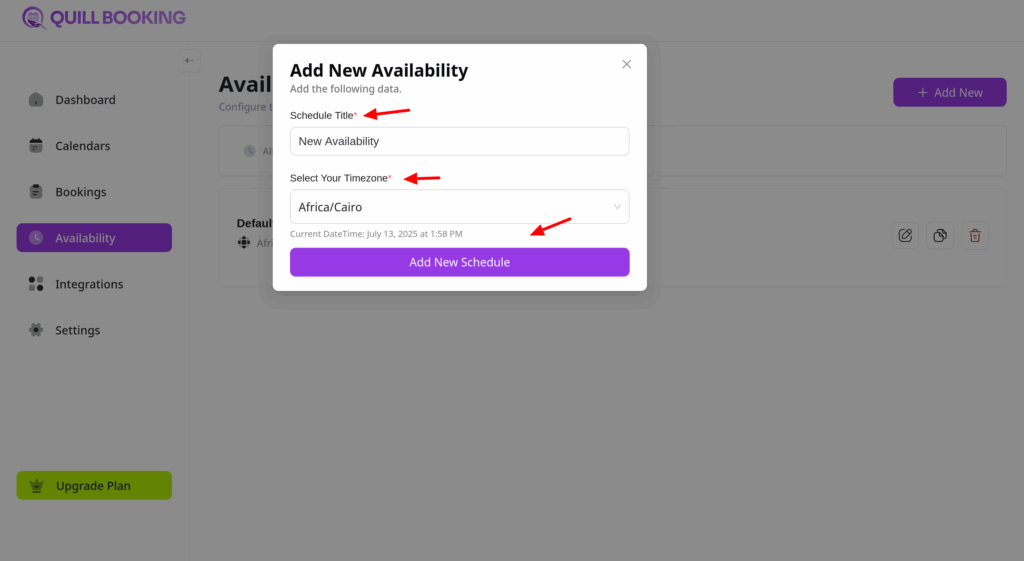
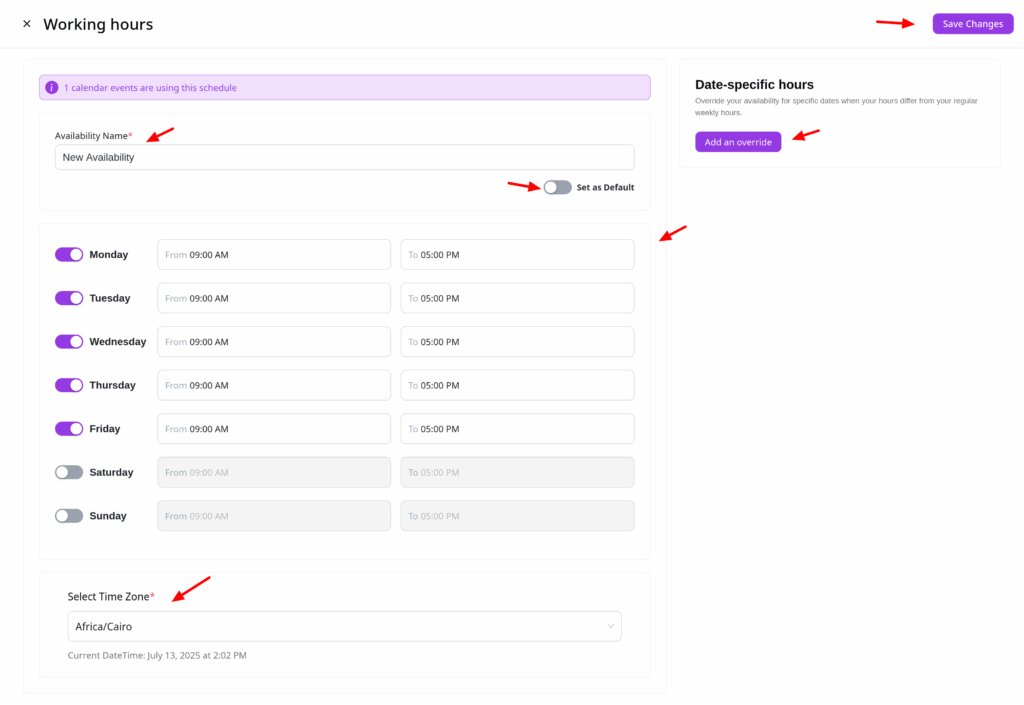
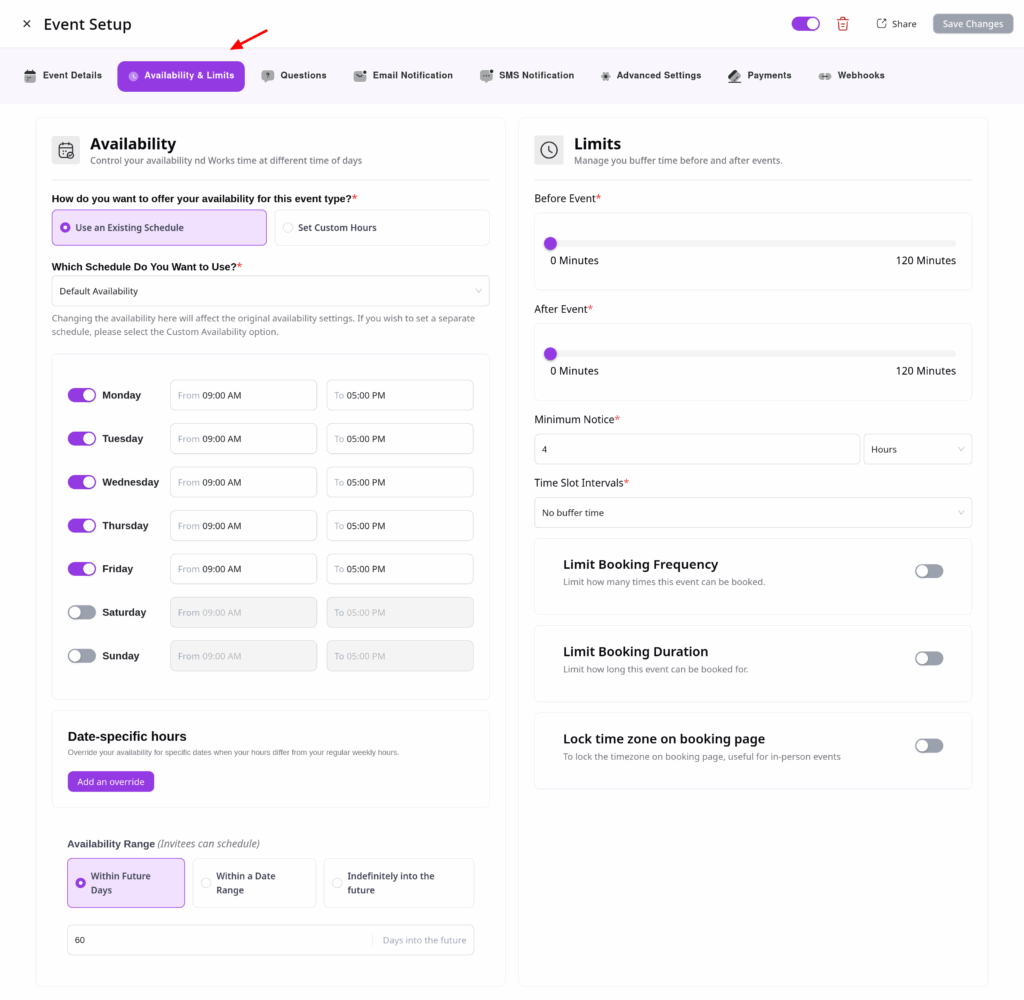
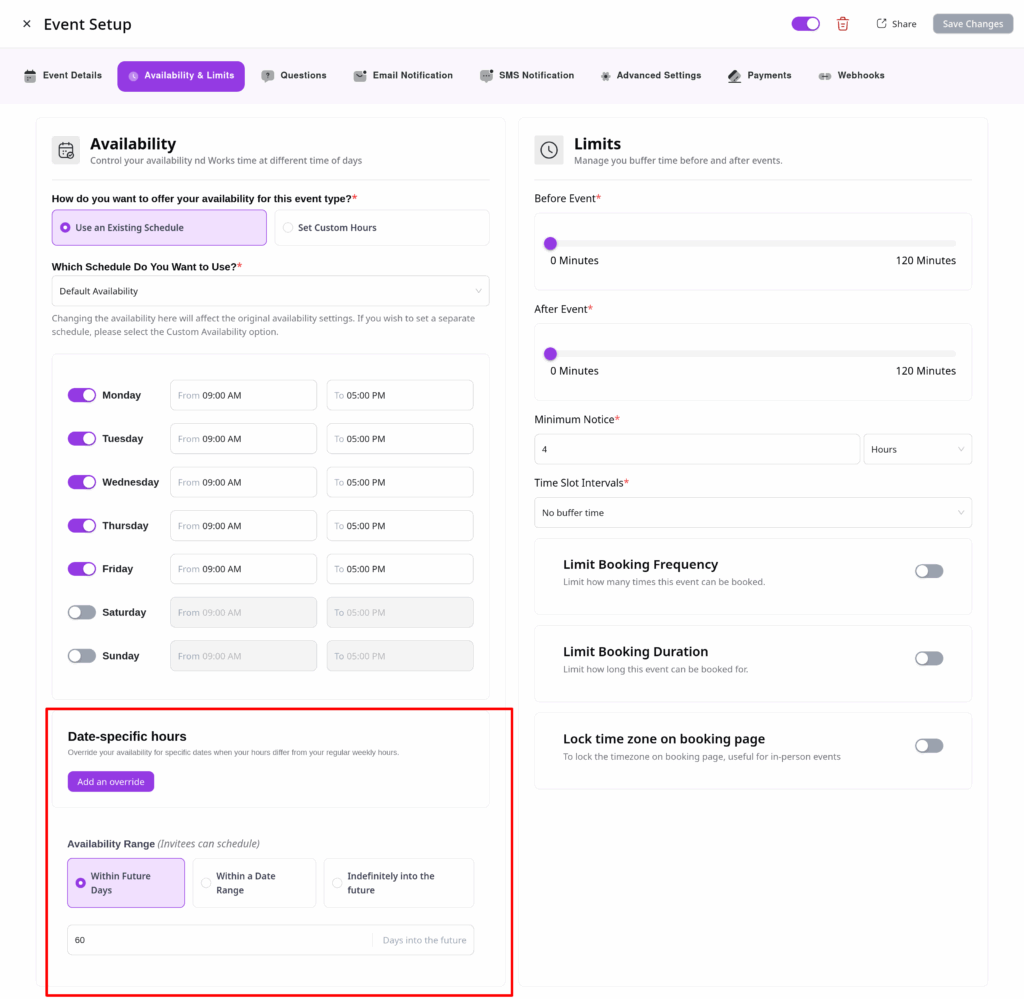
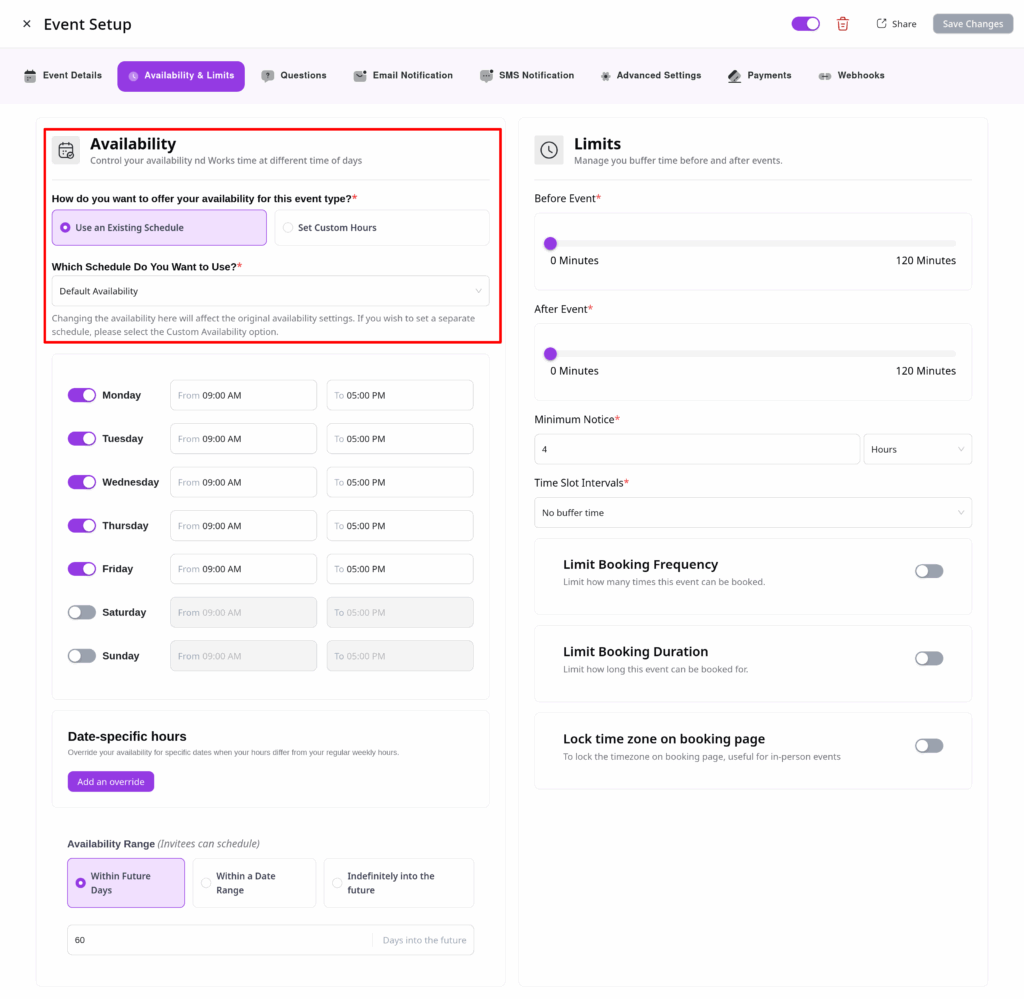
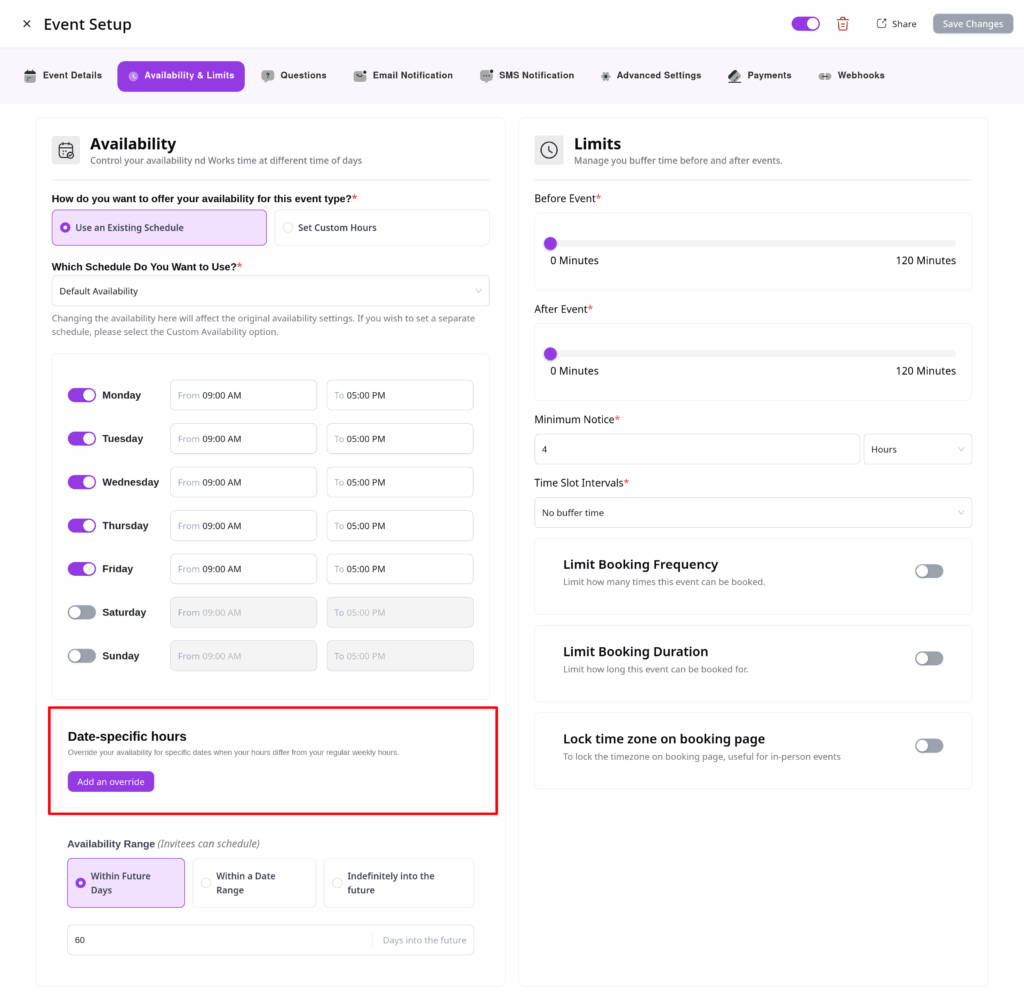
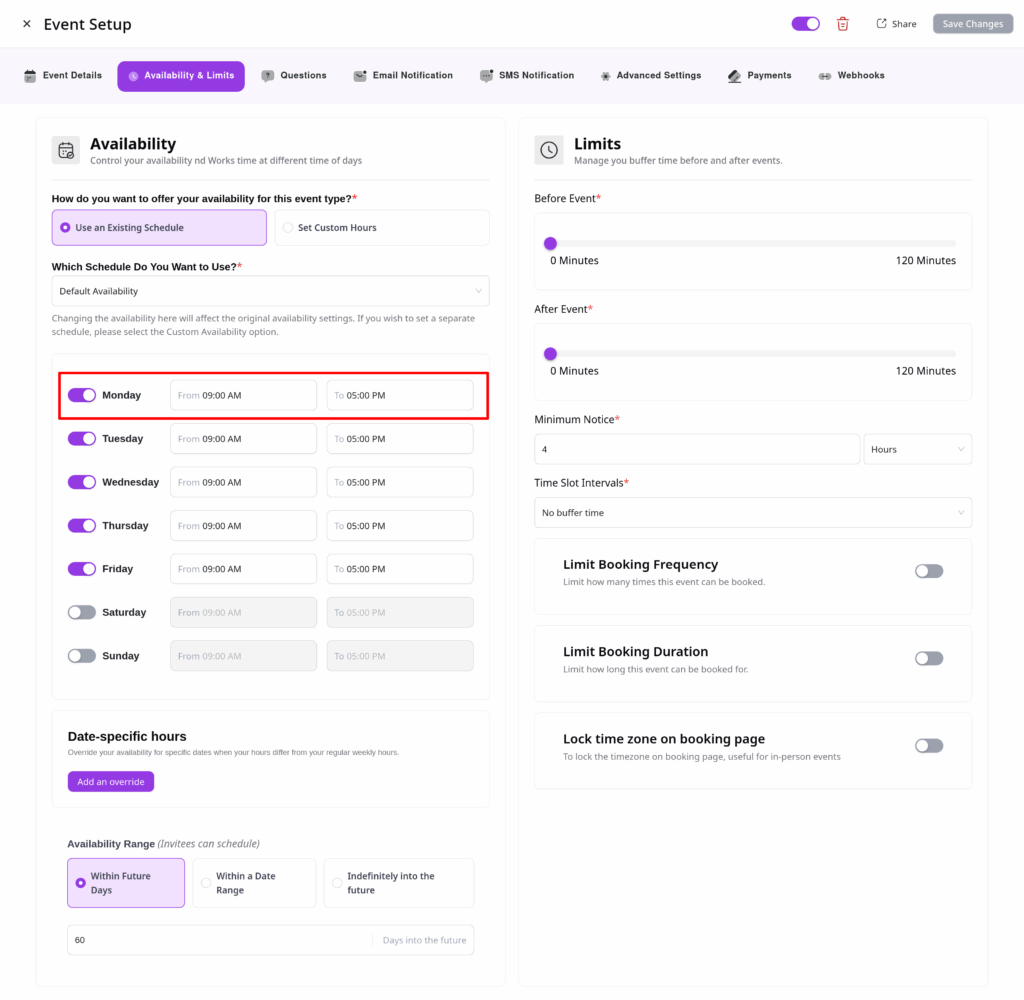
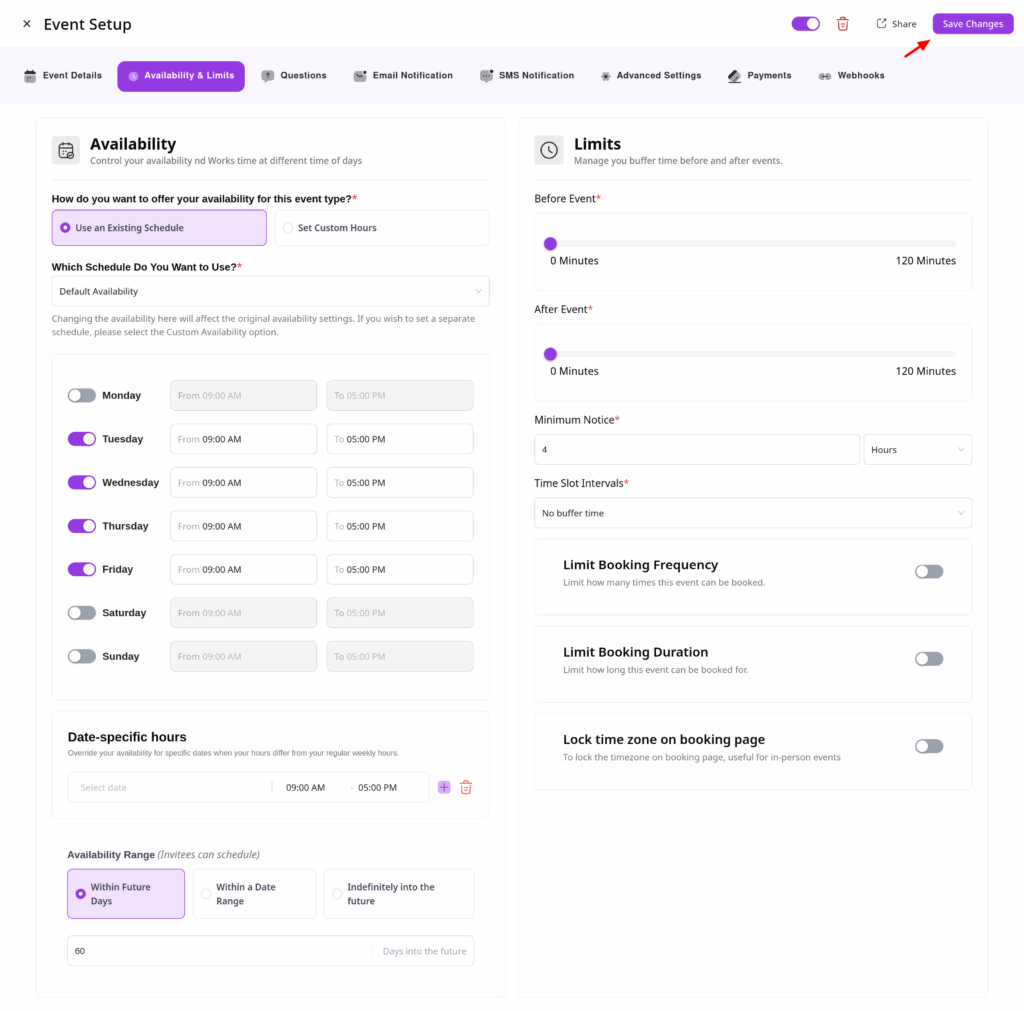
Configuring Availability
Setting up availability in QuillBooking is intuitive and user-friendly. Step-by-step setup instructions are provided in the documentation to guide users through the process with ease.
Shared Availability
A standout feature in QuillBooking is its shared availability model. This means all events created by a host share the same availability calendar. When a time slot is booked for one event, it becomes unavailable for other events during that same time.
Example Scenario
Imagine a host has the following setup:
- Event 1 with 60-minute slots
- Event 2 with 30-minute slots
With a weekly schedule from 9 AM to 5 PM, Monday to Friday, if a booking is made for Event 1 from 9 AM to 10 AM, that time block is also marked unavailable for Event 2.
This ensures hosts never face overlapping bookings, providing a smooth and efficient scheduling experience.