QuillBooking Shortcodes
A shortcode is a simple code snippet that can be placed anywhere on your website. When displayed on the front end, this code transforms into dynamic content, such as a booking calendar. QuillBooking offers custom shortcodes that seamlessly integrate powerful booking functionality into your site.
This documentation will guide you through the available shortcodes and demonstrate how to use them effectively to enhance your website’s booking capabilities.
Adding Shortcodes to Your Website
To integrate shortcodes into your website’s front end:
- Navigate to your WordPress dashboard and select Pages or Posts from the left sidebar
- Choose the specific page or post where you want to add the shortcode, or create a new page
- Click the (+) Add Block button
- Search for “Shortcode” and select the Shortcode block
- Paste your shortcode into the block and save the changes
Once completed, the booking events will be displayed on your website’s front end.
Available Integration Methods
QuillBooking provides three main ways to integrate booking functionality into your website:
1. Shortcode Integration
2. Embed Code Integration
3. QR Code Integration
Shortcode Integration
The primary shortcode for displaying booking events on your WordPress site:
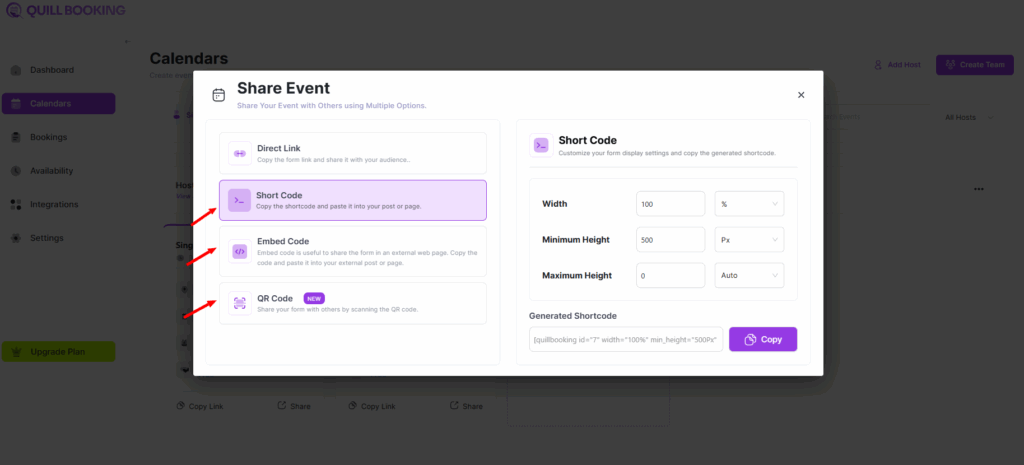
[quillbooking id="7" width="100%" min_height="500px" max_height="auto"]Parameters:
- id: Specify the booking event ID (required)
- width: Set the width of the booking widget (default: 100%)
- min_height: Set the minimum height of the booking widget (e.g., 500px)
- max_height: Set the maximum height of the booking widget (use “auto” for flexible height)
Example Usage:
[quillbooking id="7" width="100%" min_height="500px" max_height="auto"]This will render the selected booking form on your site’s front end with the specified dimensions, allowing users to interact with it seamlessly.
Embed Code Integration
For more advanced integration or when you need to embed the booking calendar outside of WordPress, use the iframe embed code:
html
<iframe src="http://localhost/wordpress?quillbooking_calendar=host-calendar&event=single-event" width="100%" height="600" style="border:0;"></iframe>Embed Code Parameters:
- src: The URL pointing to your QuillBooking calendar
- width: Set the width of the embedded calendar (default: 100%)
- height: Set the height of the embedded calendar (e.g., 600px)
- style: CSS styling options (border:0 removes the iframe border)
URL Parameters:
- quillbooking_calendar: Specifies the calendar type (e.g., host-calendar)
- event: Specifies the event type (e.g., single-event)
This method is particularly useful for:
- Embedding calendars in non-WordPress websites
- Creating custom integrations
- Displaying booking forms in external applications
QR Code Integration
QuillBooking also supports QR code integration for mobile-friendly booking access:
QR Code Feature: Simply scan the code to initiate your Quill Forms, which function seamlessly both online and offline (printer required naturally).
Benefits of QR Code Integration:
- Mobile-friendly: Users can quickly access booking forms by scanning with their mobile devices
- Offline capability: Forms work even when internet connectivity is limited
- Print-friendly: QR codes can be printed on physical materials like flyers, business cards, or posters
- Quick access: Eliminates the need for users to type URLs manually
Use Cases:
- Physical marketing materials
- Event signage
- Business cards
- Restaurant table tents
- Appointment scheduling cards
How to Access Integration Codes
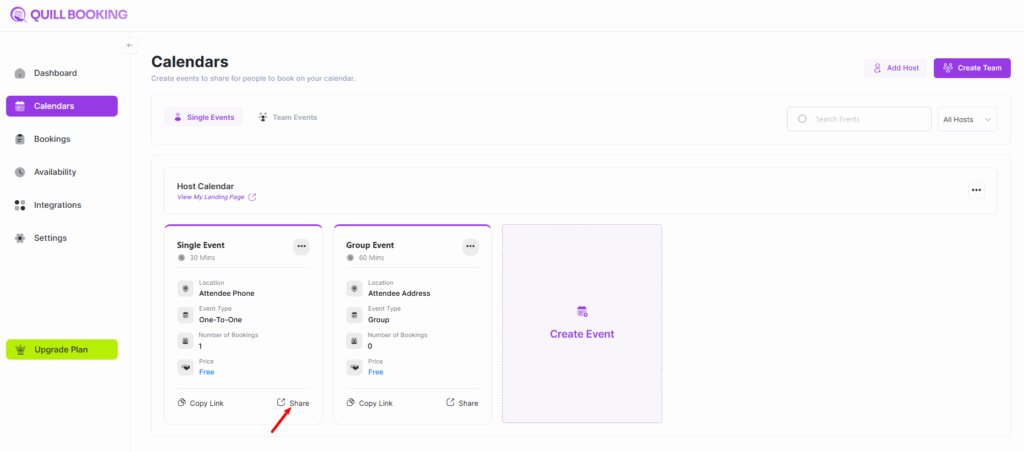
All integration codes (shortcode, embed code, and QR code) are available through the Share button in your QuillBooking events:
- Go to the specific event in Calendars section
- Click on the Share button for that event
- In the sharing options, you’ll find:
- Shortcode: Ready-to-use shortcode with the event ID and default parameters
- Embed Code: Complete iframe code for external embedding
- QR Code: Generated QR code for mobile and offline access
This centralized approach makes it easy to get all the integration codes you need for any event directly from the dashboard.