Configure Availability
QuillBooking makes it easy to manage when you’re available for bookings. Instead of adjusting your schedule for each event manually, you can create reusable availability schedules that streamline your workflow and save time.
Availability Settings
To get started, head to your QuillBooking Dashboard and navigate to the Availability section.
Here, you’ll see a list of your existing availability schedules. Want to view availability across other calendar or host profiles? Just click the “All Schedules” button.
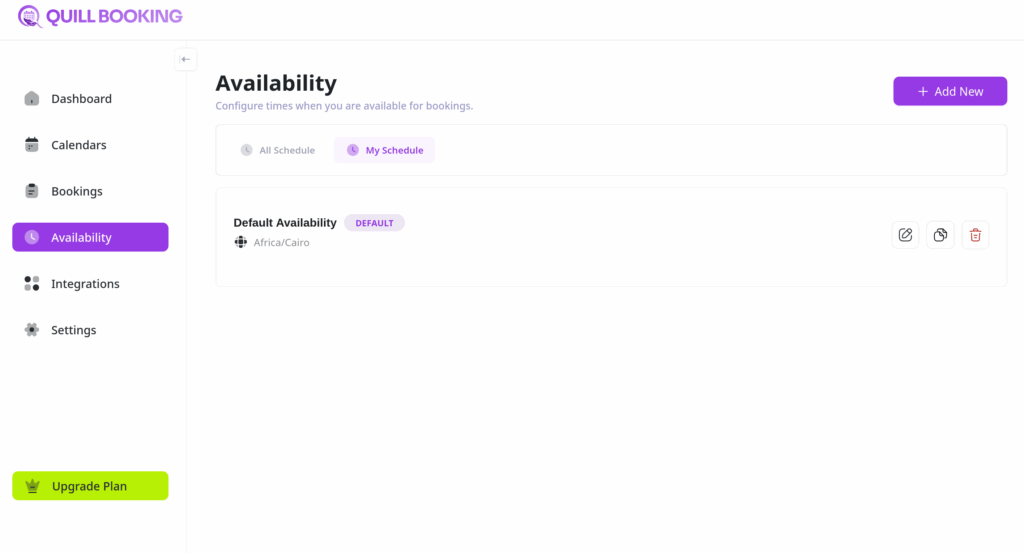
Managing Availability Schedules
Each availability schedule in QuillBooking comes with a set of management options, accessible via the icons beside each schedule:
- Edit: Modify the details of your availability schedule.
- Duplicate: Quickly copy an existing schedule for easy reuse.
- Delete: Remove schedules that are no longer needed.
Adding a New Availability Schedule
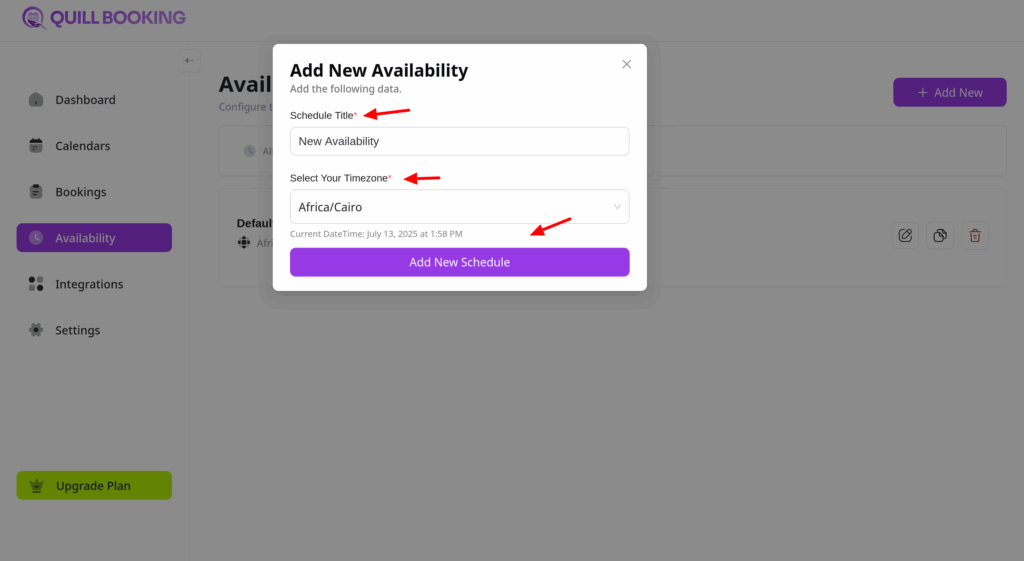
To create a new schedule in QuillBooking:
- Click the “Add New” button to open the creation popup.
- Enter a Schedule Title and select your Timezone.
- Click “Add New Schedule” to continue.
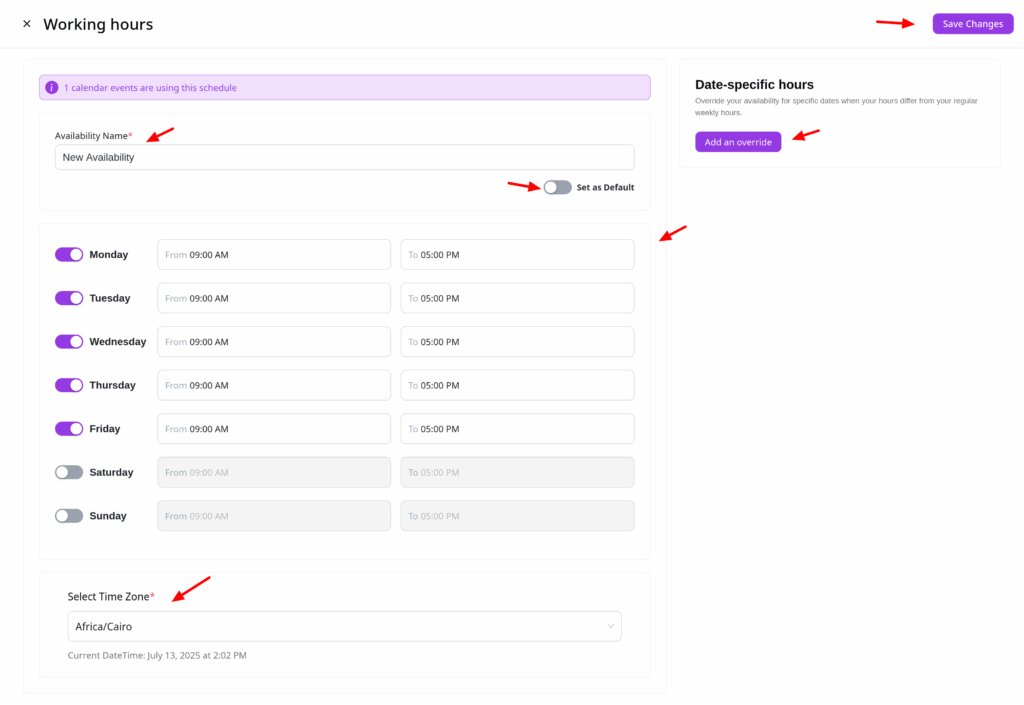
On the schedule configuration page, you can:
- View Usage List: See which how many events are using this availability.
- Edit Schedule Name: Rename the schedule and use the settings icon to make it the default or delete it.
- Set As Default: Every host can have only one default availability.
- Set Weekly Hours: Define your weekly availability window.
- Add Date Overrides: Mark specific days as available or unavailable.
- Timezone: View your set timezone (note: it can’t be changed here).
Once you’re done, click “Save Changes” to apply your new availability settings.
Editing an Existing Schedule
To update an existing schedule, simply click on the edit icon. You’ll be taken to the schedule settings page where you can make and save changes as needed.